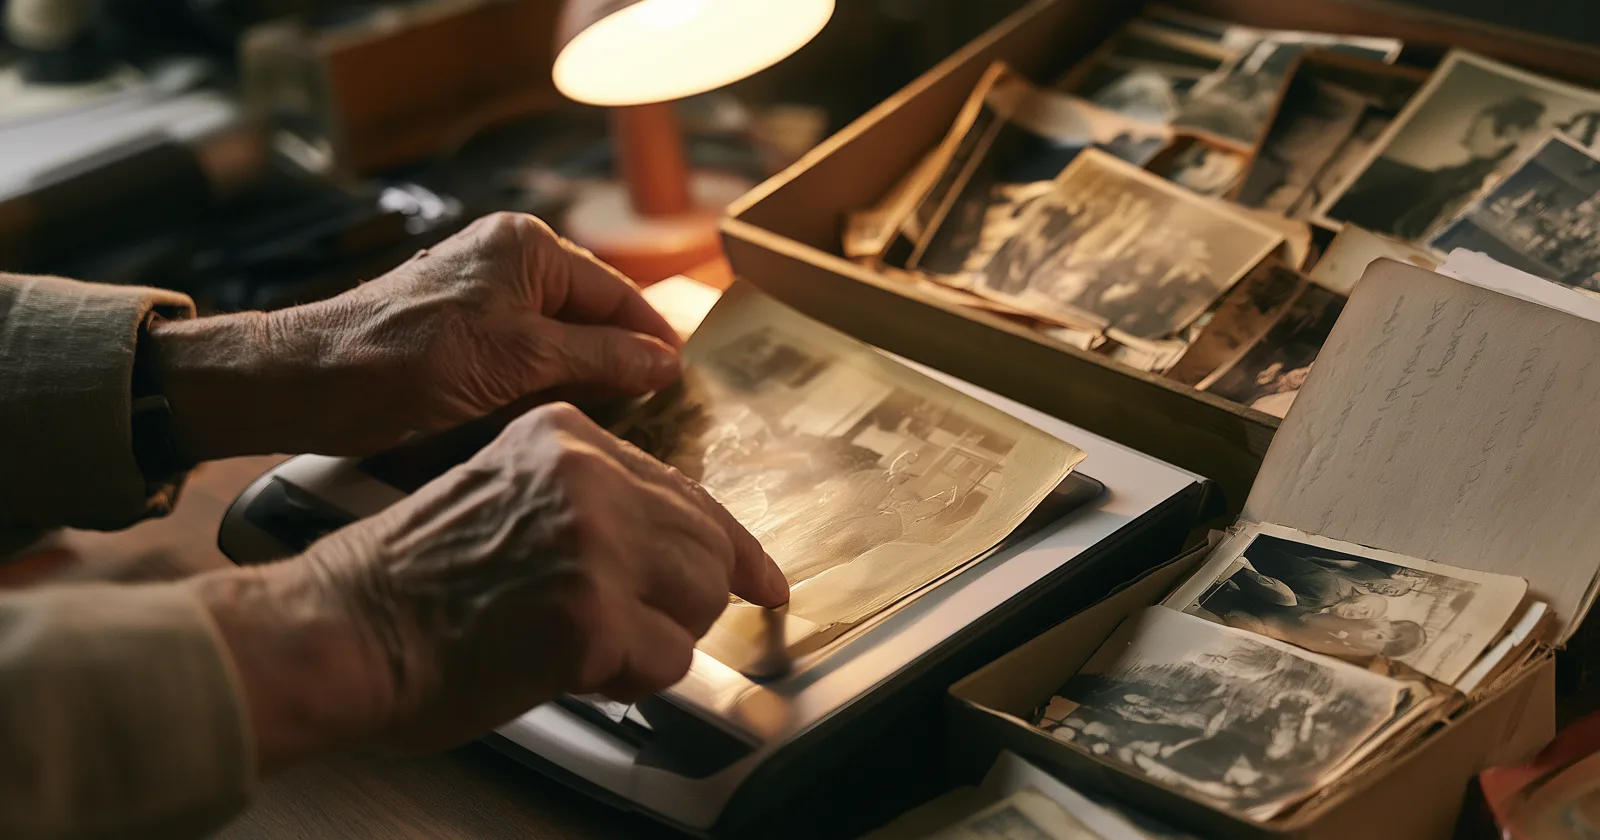
The shoebox gets scanned once. Almost nobody does it twice.
Which means the decisions you make on the first pass — resolution, file format, what you name things — are effectively permanent, and you'll discover the consequences years later when you try to print one large, or when you're looking for a specific photo in a folder of four hundred files called IMG_4471.jpg.
None of this is complicated. It's just easier to get right the first time than to redo.
Resolution: how much is enough
The number that matters is dpi — dots per inch — and it determines what you can do with the file later.
600 dpi for photographic prints. This is the sane default and it's what most of the shoebox should get. A 4×6 print scanned at 600 dpi gives you enough detail to print it back at its original size perfectly, crop into it meaningfully, and enlarge it moderately. Files stay manageable.
1200 dpi for anything you might enlarge, or for small prints. That wallet-sized portrait of a great-grandmother is the one you'll eventually want at 11×14, and 600 dpi won't get you there. Scanning small originals higher costs almost nothing in time.
2400 dpi and up for negatives and slides. A 35mm negative is about an inch wide. To get a printable image out of it you need enormously more detail per inch than you do from a print. This needs a scanner with a transparency unit — a flatbed with a regular lamp will not do it properly no matter what dpi you set.
Don't go higher "just in case" on ordinary prints. Above about 1200 dpi on a standard photograph you're mostly capturing paper texture and the grain of the original film, at the cost of file size and hours of scanning time. There's a real ceiling to how much information is physically in a print.
Format: TIFF or JPEG
JPEG is compressed, small, and universally readable. Every time it's re-saved it loses a little quality — but if you scan to JPEG and then never edit that file, you'll never notice, because the loss happens on save, not on viewing.
TIFF is uncompressed and lossless. Big files, and worth it for the photographs you actually care about.
The practical rule: scan everything to high-quality JPEG, and scan the two dozen photographs that genuinely matter to TIFF as well. The full-TIFF approach is technically correct and produces an archive most people can't store, back up, or navigate, which is a worse outcome than good JPEGs that actually exist.
Whatever you choose, keep the original scan untouched and edit copies. Cropping, straightening, and color correction all belong in a derivative file.
Scan the back
This is the single most-skipped step and the one people regret most.
Turn the photograph over. If there is writing on it — a name, a date, a place, "Ruth and the girls, Easter" — scan that too, at lower resolution, and save it alongside the front with the same base filename plus -back.
That handwriting is frequently the only identification a photograph will ever have, and it does not survive the photograph being handled, stored, or given to someone who doesn't know what it says. It also does not survive being read once and remembered wrongly.
While you're at it: never write on the back of a photograph with a ballpoint pen. It presses through. Soft pencil, light pressure, at the edge.
Naming and metadata, at scan time
Here's the part that separates a digitized collection from a second shoebox.
A folder of Scan_0043.jpg is not an archive. It's an unsorted pile that happens to be on a hard drive, and the moment it exceeds a couple of hundred files it becomes unusable — you'll know a picture exists and be unable to find it.
Name files as you scan. A workable convention:
1948-Reilly-William-and-Ruth-wedding.jpg
1962c-Reilly-family-porch-Dearborn.jpg
1948-Reilly-William-and-Ruth-wedding-back.jpg
Year first so files sort chronologically. c for circa when you're guessing. Surname, then who and what. It doesn't need to be this exact scheme — it needs to be a scheme, applied consistently, that puts a searchable name in the filename.
Add the details you know while you know them. Most operating systems and photo apps let you add tags, captions, or descriptions to an image file. This is where "the woman on the left is my grandmother's sister, we don't know the others" belongs. The person scanning is almost always the person who knows the most, and that knowledge does not automatically pass to whoever inherits the folder.
If you're scanning with a relative in the room who can identify people — record them doing it. A phone recording of an eighty-year-old going through a box saying "that's Frank, that's the house on Wexford Street" is worth more than the scans.
What to scan with
A flatbed scanner gives the best quality and is slow. Fine for a few hundred photos over some evenings, painful beyond that. Look for one with a transparency adapter if you have negatives or slides.
Phone scanning apps have become genuinely good — they de-skew, crop, and remove glare automatically. Quality is below a flatbed but well above nothing, and the speed difference is enormous. For a large box of ordinary snapshots, a phone app finishes the job; a flatbed means the job never gets finished. That trade usually favors the phone.
Bulk scanning services take a box, return files, and handle thousands of images. Reasonable for volume. Two cautions: ask what resolution and format they deliver, because some default lower than you'd choose; and understand that irreplaceable originals are going in the mail.
Do not photograph photos on a table with your phone camera and consider it done. Angle distortion and reflected room light produce something that looks acceptable on a phone screen and is unusable at any size.
Handling the originals
- Wash and dry your hands. Skip cotton gloves — they reduce grip, and dropped photographs are a bigger risk than fingerprints.
- Hold prints by the edges.
- Compressed air or a soft brush for dust. Never liquid on a photograph.
- Photos stuck together in a block: don't force them. Humidity separation is a real technique and forcing them tears emulsion.
- Store the originals afterward in archival, acid-free sleeves or boxes, somewhere climate-stable. Not the attic, not the basement, not the garage — those are the three places family photographs go to die.
What to do with them once they're scanned
This is where most people stop, and stopping here means the shoebox is now a folder nobody opens.
Attach them to people. If your tree is on FamilySearch, its Memories feature holds photos, documents, and audio recordings against individual profiles, and it's free. A scanned photograph attached to an ancestor's profile is findable by relatives you've never met, permanently. It's one of the most underused things in genealogy. More on how FamilySearch works.
Back them up in more than one place. A single hard drive is not a backup, and neither is a single cloud account. Two copies in different places, at minimum.
Get them onto a screen the family actually looks at. The simplest version costs nothing and takes ten minutes: Apple TV, Google TV, and Fire TV all let you point their built-in ambient or screensaver mode at a photo album. Do that this weekend and scanned photographs go from being a folder to being on the wall.
The version we build goes a step further — Bright Branches uses your scanned family photographs as backdrops behind the tree itself, so the people and the picture of the people are the same object rather than two separate collections. More on ambient display.
Either way, the principle holds: a scan that lives in a folder is a photograph you've moved from one box to another. The scanning is only worth the evenings it costs if something is looking at the result.
Keep reading: